3D Animation camp is a five-day course for animation beginners. We will learn all the basics of using Autodesk Maya for animation, as well as the 12 animation principles, how to set up a scene, and how to work with several rigged models. By the end of the camp, you should have all the basic building blocks to create your own short scene!
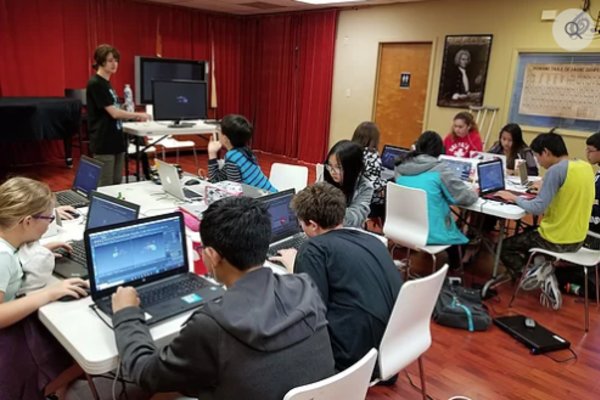
This is a full day camp. Bring your laptop or use ours.
Day 1: Familiarizing with the tools.
- Maya 2016 / 2017 seems intimidating to use at first, but it’s a very versatile tool. Similar to Photoshop, you only really need to know a few things to get started.
- Different viewing modes (accessed through shortcut with number keyboard keys). The Modeling workspace vs Animating workspace. (there are others as well, but we do not focus on those)
- How to set up the object you are animating! Referencing models (these are called rigs!) And testing them out.
- Explain polygons vs nurbs curves -- In some programs like Blender, animation is done on a polygon-based skeleton. In Maya, the rig is non physical.
- How to use various manipulators ( w for move, e for rotate, r for scale) and the difference between World Space and Object Space.
- Timeline, and the manipulators for that >> also playback settings.
- Using the graph editor and the dope sheet to modify the timeline.
Day 2: The 12 principles of animation
- The 12 principles will be explained via a video and a demo in-class.
- The exercise today will be making a ball bounce, and using the deform tool to implement squash and stretch. Timing and spacing will be important principles to use here!
- Explain straight-ahead animation vs pose to pose.
Day 3: Ball with tail.
- Learn how to use script editor for creating selection sets in shelves for convenience!
- Today we will focus on the overlap principle.
- Copying and modifying curves using the graph editor for easy overlap.
- The exercise today is similar to the bouncing ball - but this time, we will create an environment and make the bounce lateral as well, not just vertical. The tail overlap must be timed to the bounces!
Day 4: Walk-cycle
- Demonstration in class for setting up walk-cycle.
- Lecture for the different poses: contact, down, pass, up, contact
Day 5: Fully rigged character.
- Make a character move from one place to another, interact with an object, and explain camera movement.
- Insert audio into a scene! We can use any audio - your character can be speaking to a voice line, or dancing to music.
- Rendering playblasts, and lighting a scene - once you’ve created an animation you are happy with, learn how to render the individual frames or create playblasts (quickly rendered low-quality videos) with lighting and camera moves.